
Introduction
Titanium is all the craze nowadays. With food utensils, they provide a distinct advantage over steel, with properties such as anti-corrosion and weight being among the most notable. However, Titanium tools are often much more expensive as they are harder to work with. When it comes to something as simple as chopsticks, does the added cost still make them worth it to buy?
This product was provided by EatingTools for review.
Specs
Manufacturer: Alan Folts
Place of Manufacture: USA
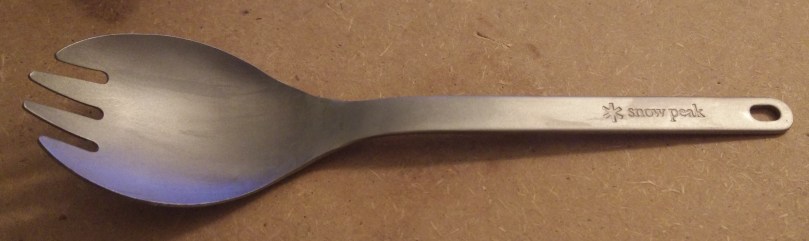
Length: 9.375″
Weight: 1.7oz
Price: $75 (link to purchase: here)
Packaging

The TiStix come in a nice black sleeve packaging. There is a small loop that slips over the flap to keep it closed. Over the left side has the logo printed on faintly.


When it comes to packaging, the TiStix really hit the ball out of the park. I can see myself reusing this packaging for months if I continue to be careful about drying them off before putting them back.
Design
The TiStix are cut and milled at a small machine shop in South Carolina. After that, the TiStix are finished by hand by Alan Folts. This includes the anodizing, polishing, and bead blasting.

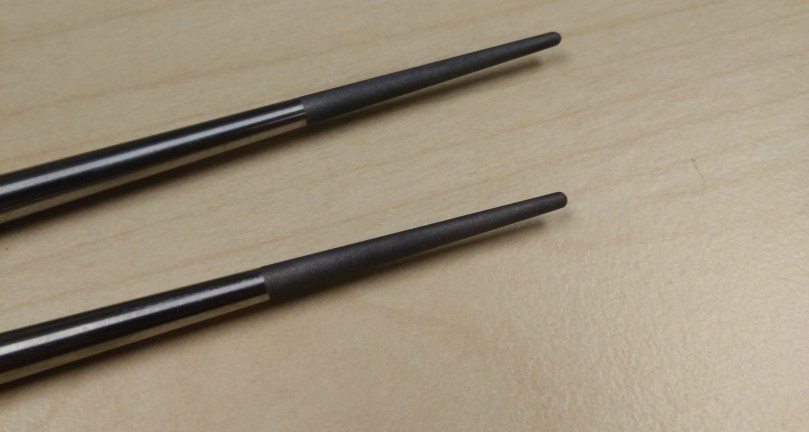
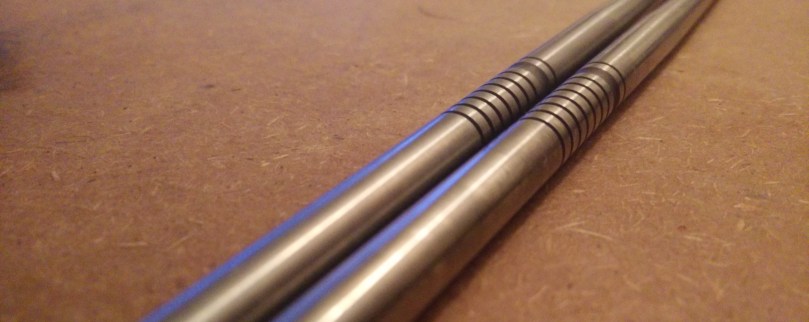
Starting at the tip, the front inch are bead blasted. This gives them some more grip and contrasts with the rest of the polished body.
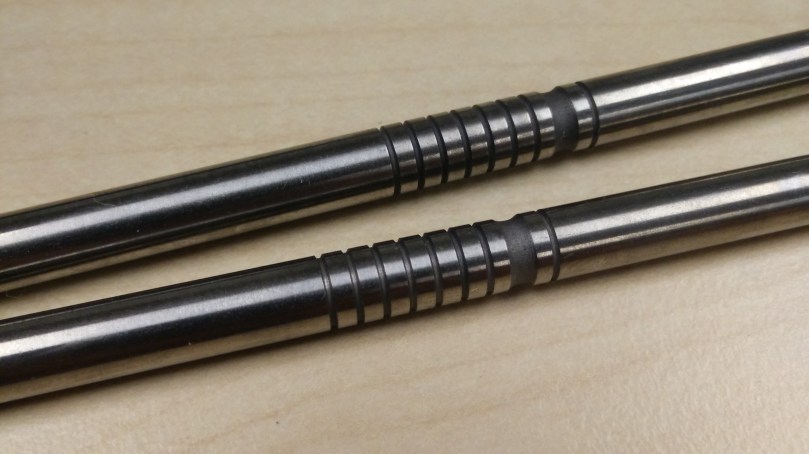
Moving to the middle, there is some milling that add to the aesthetic. The largest milled ring are bead blasted for higher contrast. The other milled rings are not finished differently from the body.
The end is bead blasted and is steeply tapered into a dulled tip. There is more milling here and, like before, only the largest ring is bead blasted.

Other models come with different color anodizations that add some customizability.
Fit and Finish
The fit and finish on the TiStix are impeccable. It is impossible to tell the individual sticks apart from their size. This is expected, as they were professionally machined. The milled rings are distanced the same on both and the depths are the same.
When it comes to finish, even though the TiStix are finished by hand, they look perfect. The polished surfaces look smooth. They look a bit tumbled, which would explain their ability to resist wear marks. They frankly look like pieces of art rather than eating utensils.
Functionality
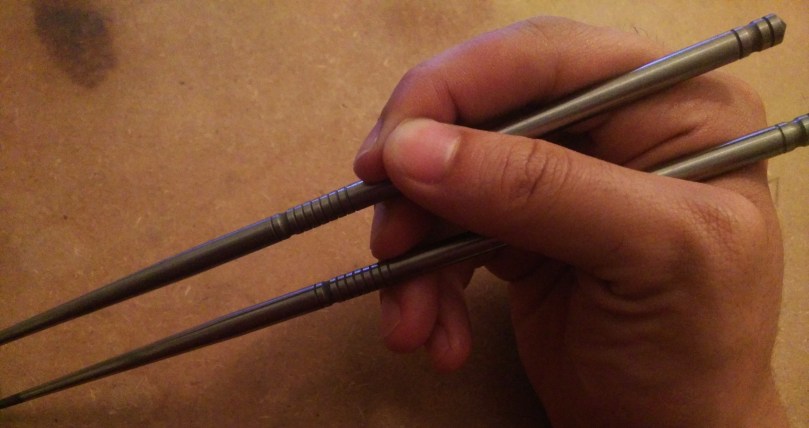
I was a bit dubious at first about any differences the TiStix would have over other chopsticks. I was, however, pleasantly surprised by the weight increase. It might seem like a hindrance, but the added weight shifts the center of balance closer to the hand. As such, they are much easier to control. Further, the titanium has a slightly “grippier” feel in comparison to stainless steel. While not as textured as something like bamboo or wood, the TiStix makes up it by being much heftier.

The sandblasted tips make it easy to pick up the most slippery of items. This contrasts greatly with other types of chopsticks that either do not have any type of feature to help with gripping, or those that simply have a few grooves cut into the tip.
When it comes to cleaning, the titanium holds up very well to scrubbing and does not stain. Using a sponge and some dish soap, it took no time at all to remove hardened food gunk off of them. The milled titanium rings are not deep enough to make cleaning them difficult. The bead blasted contrast remains after cleaning.
Value and Competition
At $75, the TiStix do not come cheap. However, the price can be justified. In comparison to other titanium chopsticks, the TiStix’s design, with its milling and bead blasting, showcase a higher level of workmanship. The ergonomics are also better, with the strong tapering putting the center of mass higher up than with other chopsticks.

When considering value, one should look at both the item itself and how it compares. While the TiStix may look simple, they handily beat out the competition through it’s design and attention to detail. These additional design aspects require more workmanship, which further rationalize its price. For those reasons, I feel like the TiStix are reasonably priced and present tangible advantages to its competitors.
Conclusion
I was a bit surprised by the TiStix. As someone who has used chopsticks for many, many years, the TiStix may be the best pair of chopsticks that I have ever used. This is not an exaggeration. The higher center of mass and bead blasted tips make grabbing food a breeze. With their hardy solid, one piece construction, I have no fear of bringing them out and using them in lieu of disposable utensils. Given the opportunity, I would definitely purchase many more pairs for household use.


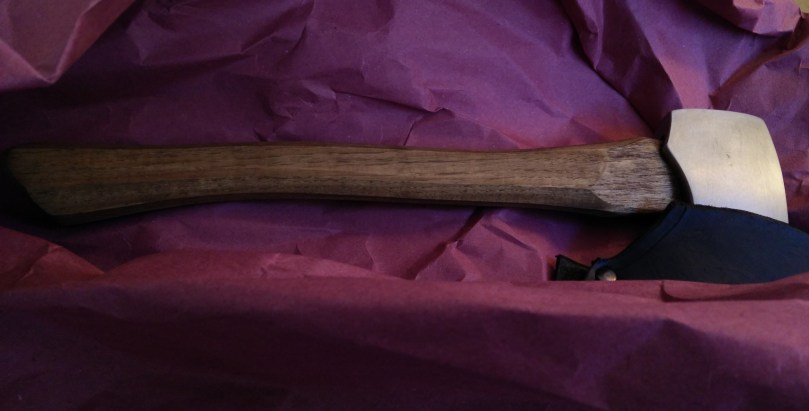


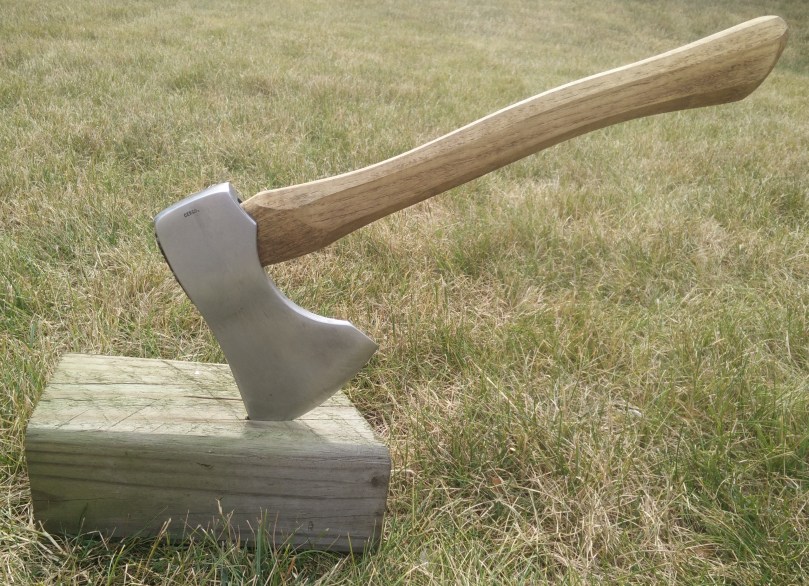


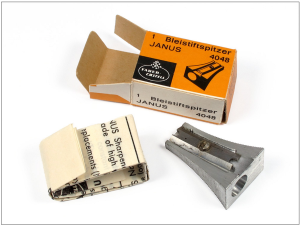
 I managed to purchase an A.W. Faber 4046 off of Etsy for a decent price. Faber 4046s go for between $40 and $100 depending on condition.

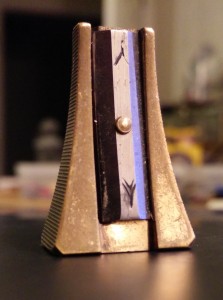
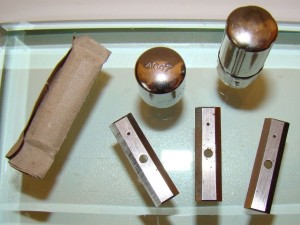
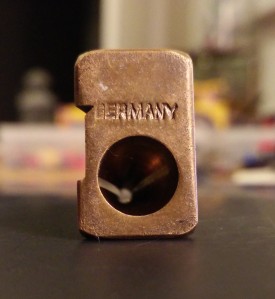 If there was anything that disappointed me about the purchase, it was the condition of the screw. It looked as though someone used a screwdriver that was too small and completely mangled the head of the screw. I have not attempted to remove it yet, but once I do, I will be trying to find a replacement at once.


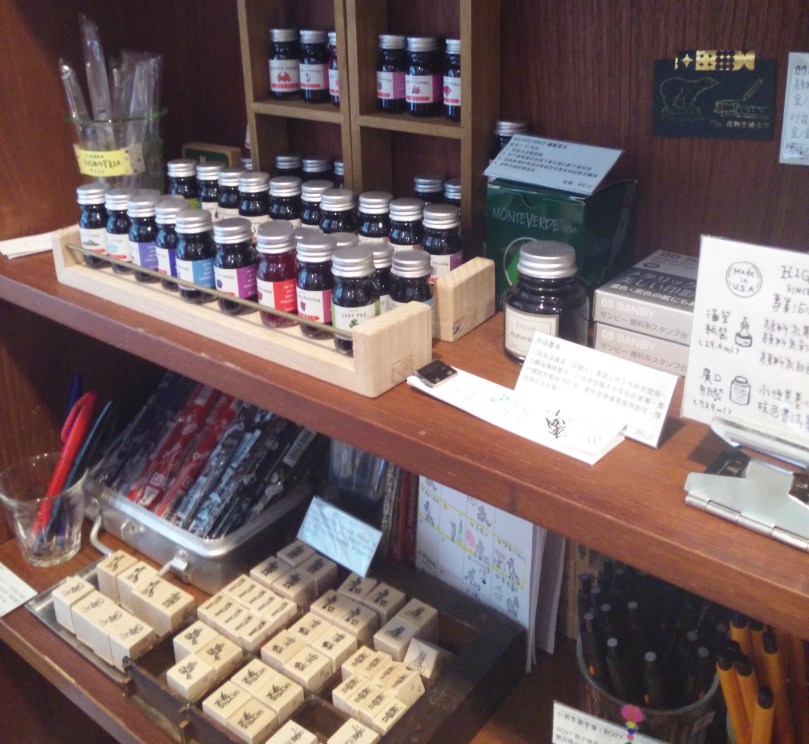
 The store is arranged in the shape of a zero. The middle island has a wide range of pens and pencils including the Pilot Preppy and a variety of Autopoints. I personally enjoyed the selection of dip pens and nibs. If you ask, they will let you try out any of the handle and nib combinations with any of the inks that they have.
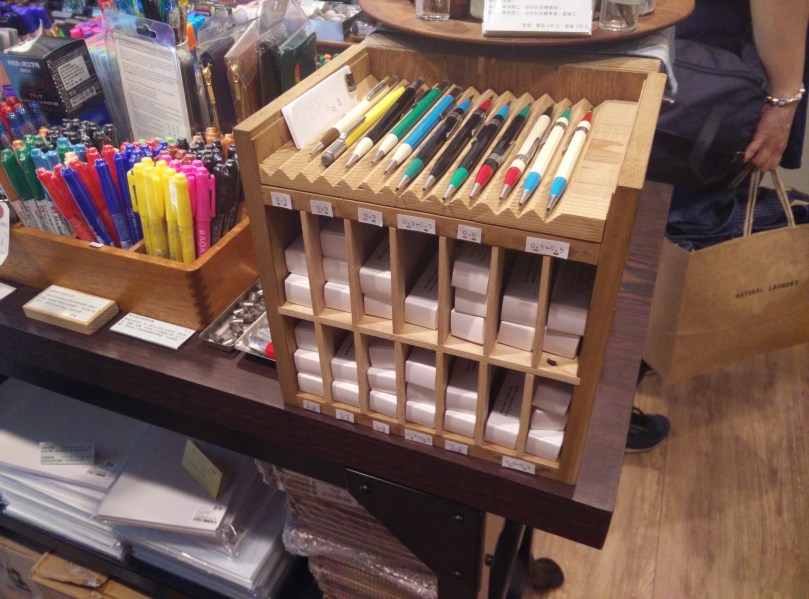
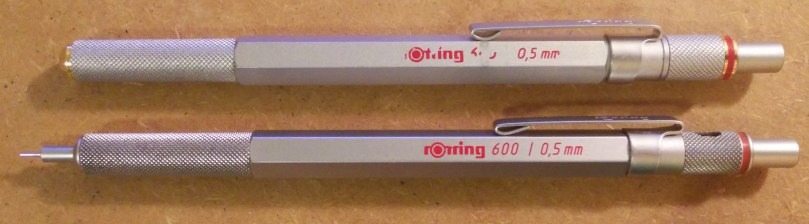
 he counter holds some of the more expensive and the “deadlier” items. They sell whale shaped knives (it is where I bought mine) and a bunch of different Higonokamis. More recently, he has also been importing a few multitools and one-piece tools. Tiger managed to import Rotrings and Fisher items to his store and, due to their price, they are also kept behind the counter.
 On one of the walls, there is a wide selection of notebooks and clips. There are Field Notes, Campus, and Life Notebooks. Prices for Japanese products are much lower than in the US, while American products are a tad higher.
 enjoyment, they have 0.4mm lead in stock, which is often hard to find in stores in the US.